|
Schnellboot -
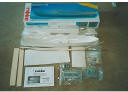
My Build of Jack's Robbe S130. |
||
|
Click on photos to enlarge. |
Hi All, |
|
 |
While not
building the S130 I do just a bit of 'web surfing',. |
|
 |
'Hello Martin, |
|
|
|
Another comment
about the build seen on the
www.modelboats.co.uk forum was... |
|
 |
Probably the
best about German E-boats is.... |
|
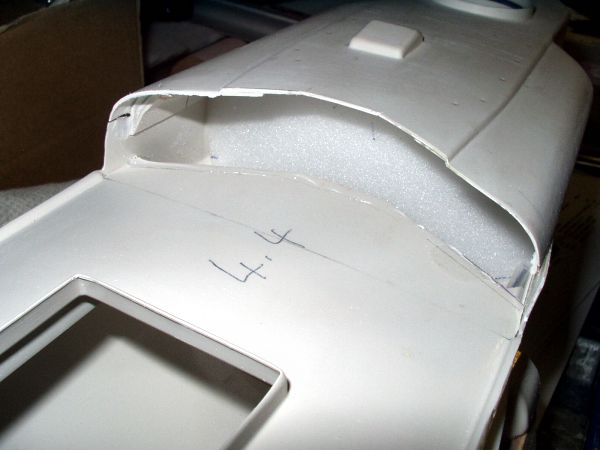 |
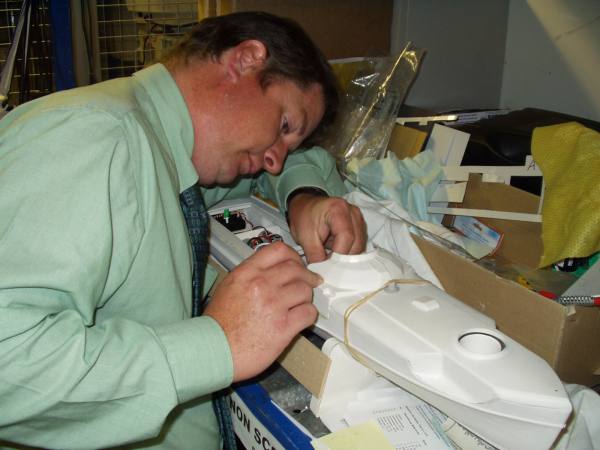
Back to the
boatyard. Now that the deck was actually attached to the hull, and quite firmly now I might add, 'Bradders' said the next job was fix in place the cockpit, / bridge / control dome .... whatever! I must again point out that this is not the sequence that Robbe recommend but by now we we're on autopilot and using the instructions as a cutting mat! |
|
 |
The Control dome require careful alignment as the eye is always drawn towards the bridge as on all boats, so beam 'squarness' and longitudinal 'correctness' are vital. ( I hope my school English teach doesn't read this page! ) |
|
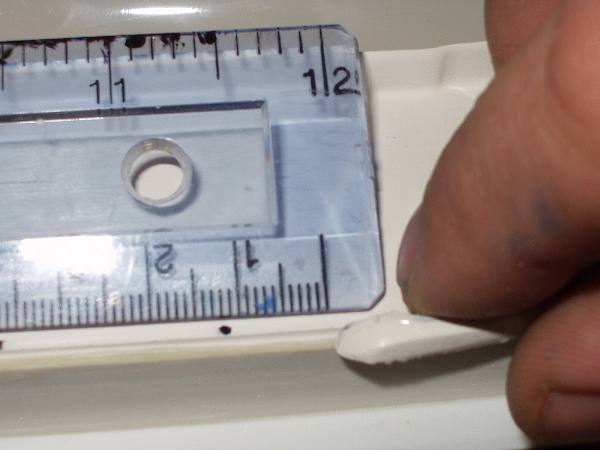 |
'Bradders' carefully measured, trimmed the two trailing control dome sides 3 times before gluing. | |
 |
'Bradders' was in full by
now and we both working long after work hours. ..... I say "We" in the sense of the Royal "We". 'Bradders' was actually doing all the hard stuff. Every modeller should have a 'Bradders' on hand.! |
|
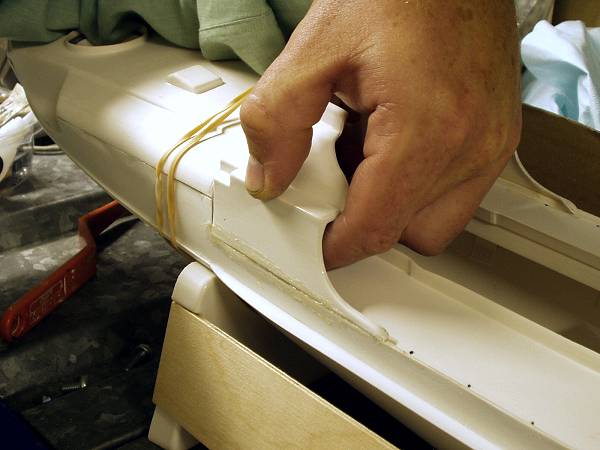 |
The control dome was glued in with Plumbers solvent cement - on the flat deck and under the foredeck. The Port side of the control dome didn't quite meet the side of the deck (what a surprise!), so had to be held while gluing. For extra strength the side were glued with Devcon 'Plastic welder'. Here I'm using my
'Bradders' as a very nimble hand clamp! |
|
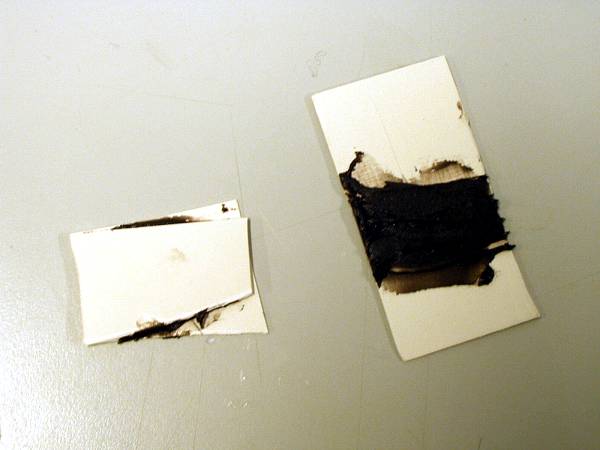 |
Next we had to re-test the
filler we had decided on - ISOPON Bumper Fill. It turns out (when mixed correctly!) to be easy to apply, smooth, sand AND it sticks to ABS! www.u-pol.com http://www.u-pol.com/countries/en/navigate.htm |
|
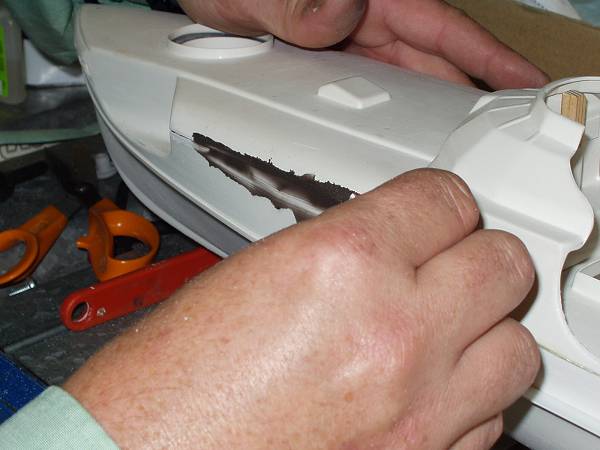 |
'Bradders' boldly applied the first layer of filler.... | |
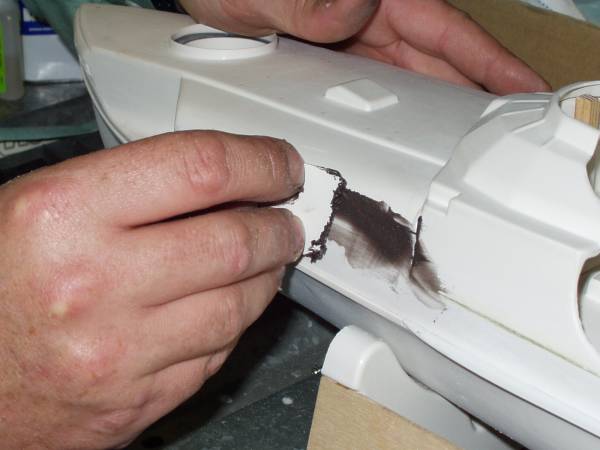 |
We had already keyed (roughed up) the surface quite heavily to ensure a good adhesion. | |
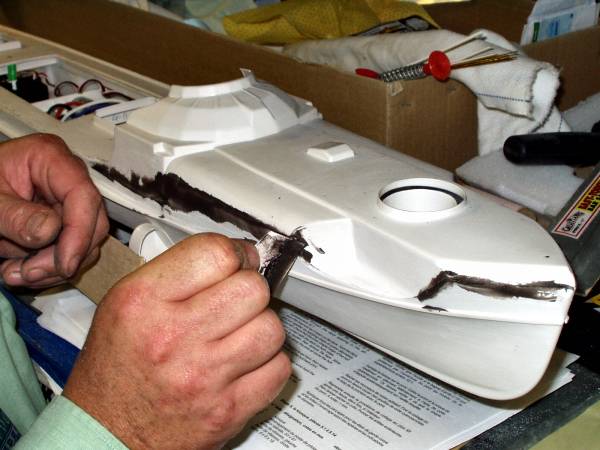 |
The other side was also done at the same time. | |
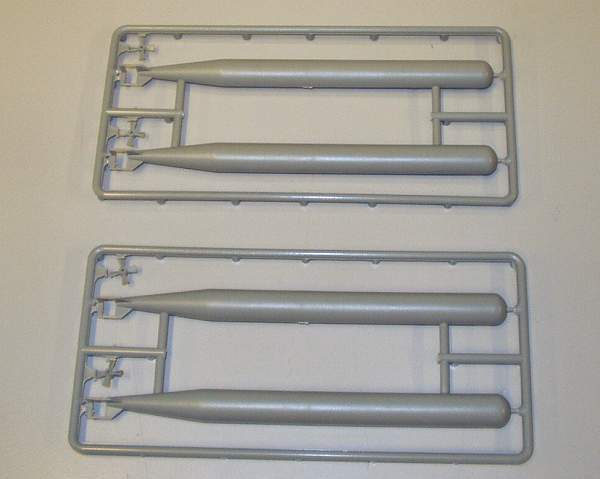 |
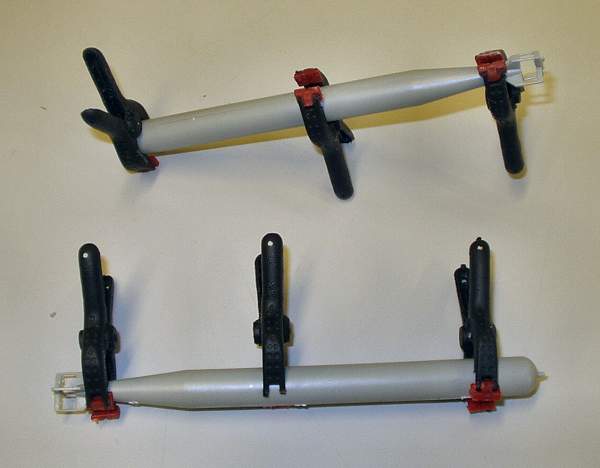
Not wanting me getting in his way,
'Bradders' told me to get on with the 'hard bits'. The torpedoes are Airfix type plastic kits, not a brilliant kit, but good enough to fool the British Navy at close range! |
 |
 |
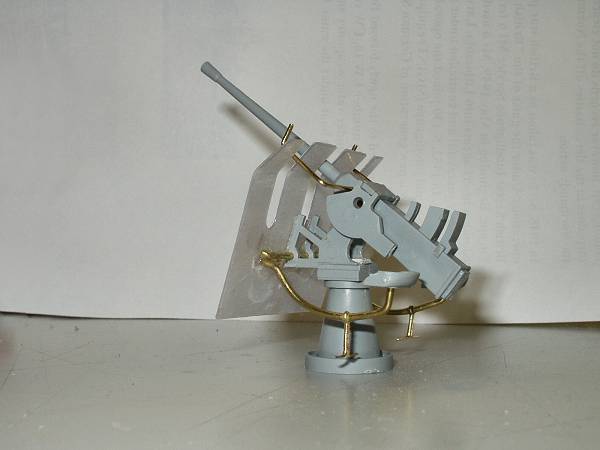
This is the front 2Cm AA Gun
before and after. The mount is not very scale but that what come in the kit! |
 |
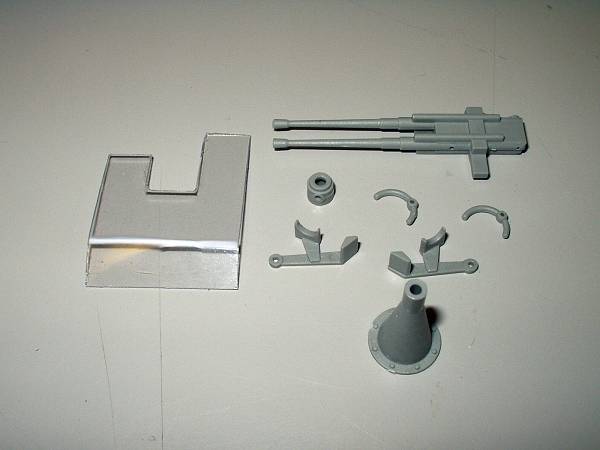 |
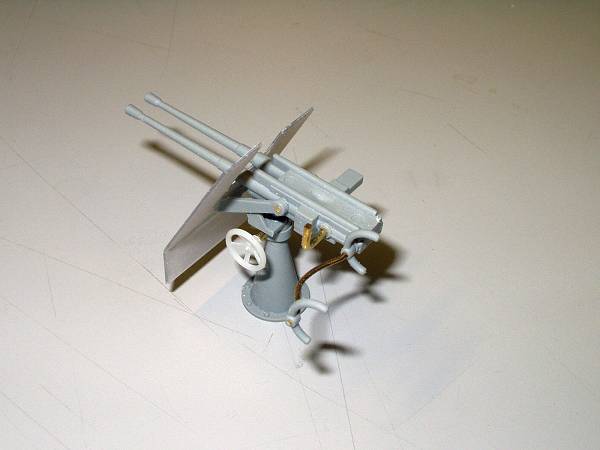
This is the amidships
Twin AA Gun. A few more photos here would have saved a lot of 'faffing' about. |
 |
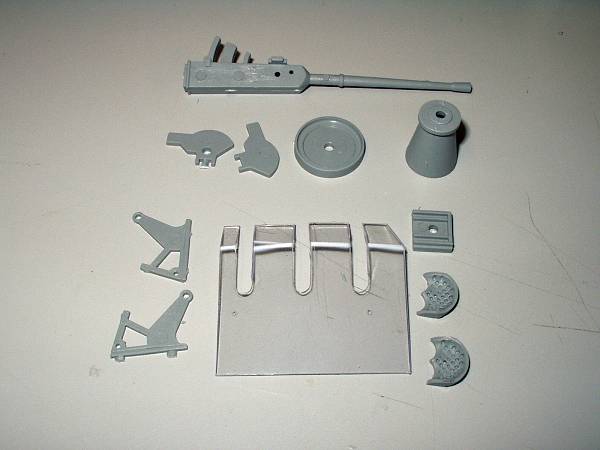 |
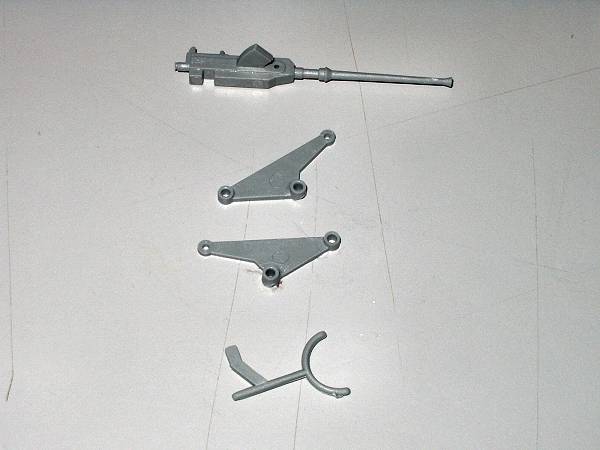
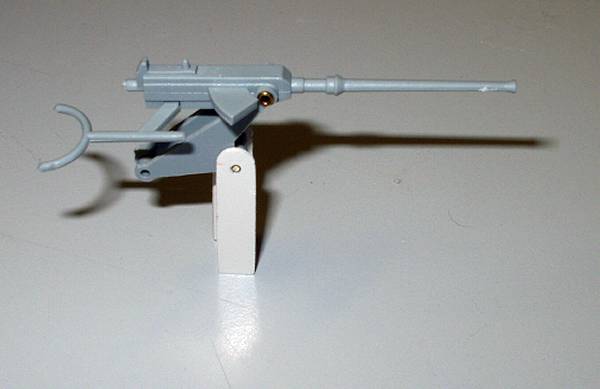
The biggest gun is the stern
4cm AA Gun. Again the instructions are very misleading., I spent ages looking for a round part 11.3. In the dustbin, under the desk, on the shelves, everywhere. After a very careful process of elimination, this part is square not round - not shown on the plans though! |
 |
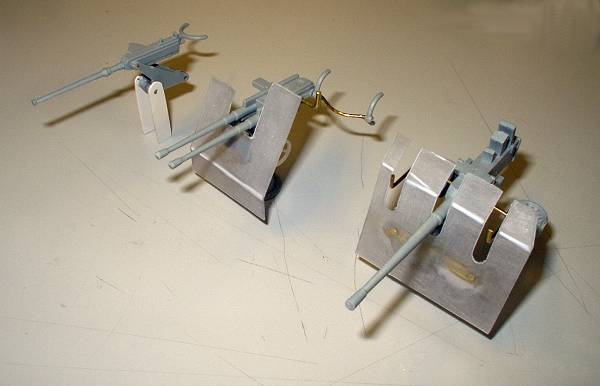 |
The guns finished, they didn't
look too bad! OK, so they are not going to win and scale competitions but they did look like guns which was a lot more than I was expecting!!! |
 |
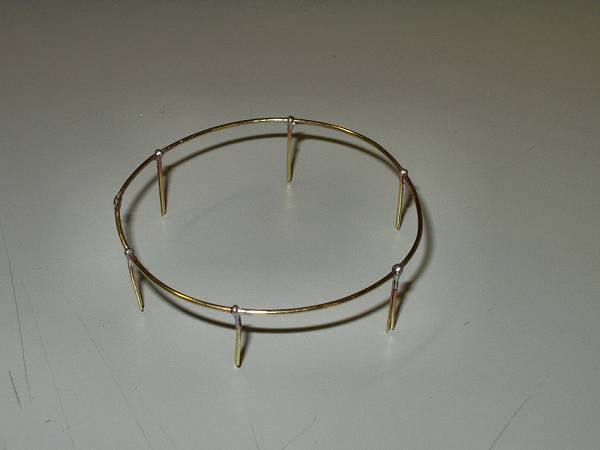 |
Next, the first bit of tricky brass work, the bow gun well rail. 7 attempts later I got it looking like what is should! |
|
 |
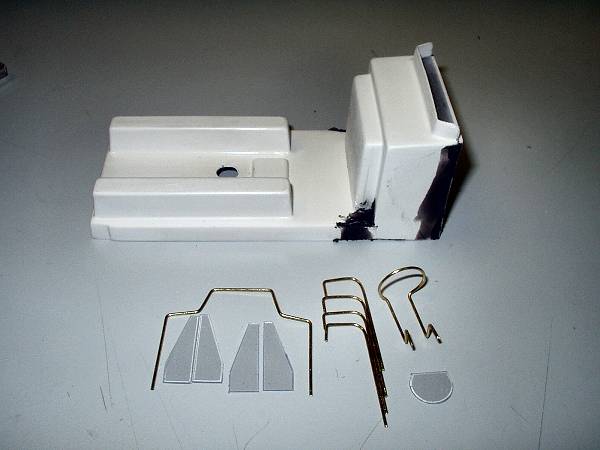
The bridge structure & forward
hatch.. Nearly nice and simple, but nothing whiskey couldn't help with! |
 |
 |
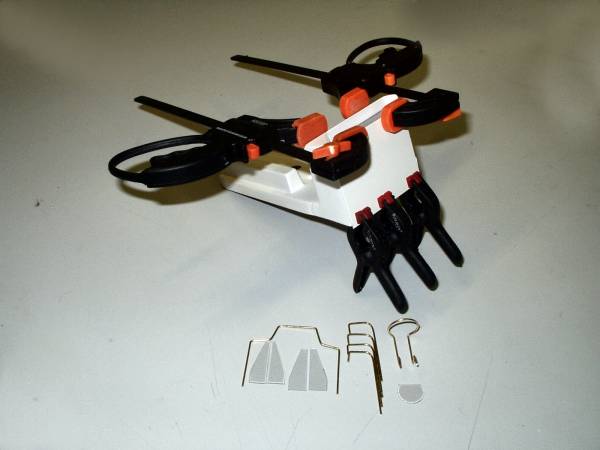
Most parts in place on the
bridge structure and more rails bent to shape.
|
|
 |
Right I'm off to 'Bradders'
place this weekend to give the bows a final fill and rub down and a coat
of primer. Fingers crossed! |
|
|
Well all this just my opinion, but what do I
know! |
||